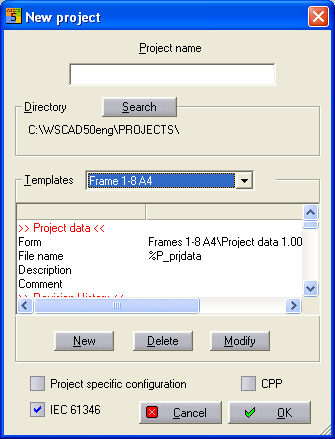
Project templates can only be created or changed when you generate a new project. Select an existing project template and click on the Templates field in the New project entry dialog.
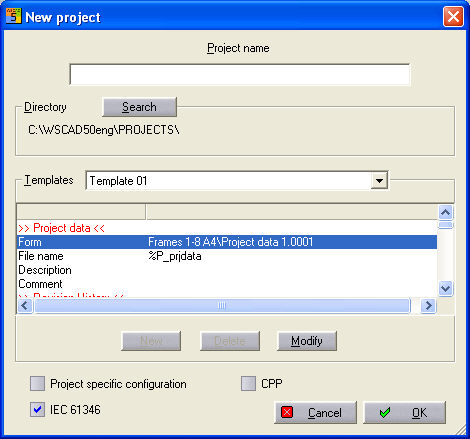
The New button becomes active. After clicking on the button, you will see the new description of the template in a text box.
Now change the existing settings. The individual objects (drawing frames, forms and texts) are assigned with a double click on the element for which you wish to assign or enter something.
e.g. in the >>Project data<< folder: Form
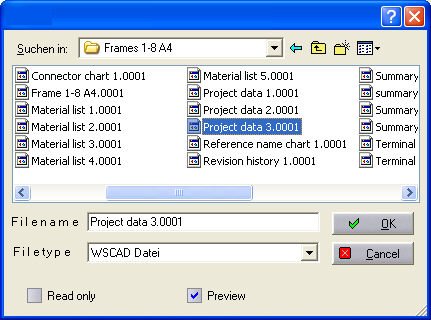
After double clicking, the Windows standard dialog opens. In this way, you can set up a permanent link by marking the form and clicking on the Open button.
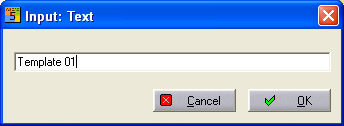
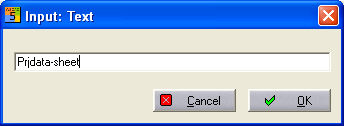
Text input dialogs are activated in which you can permanently link any test with the elements Filename, Comment or Description of each folder. Click on the OK button and the text box closes and is saved.
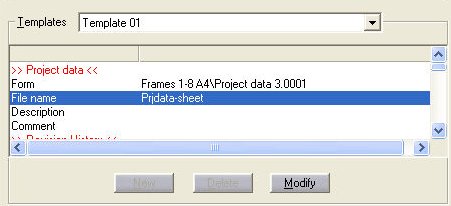
Special function for cover sheet
With Project data, several different Project data are created when the sequential forms *.0002, *.0003... are also present in the template directory.
1st Method
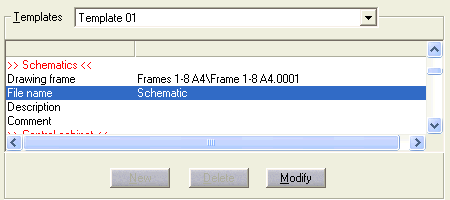
Specify a fixed name <<Diagram pages>> Filenames => Diagram i.e. all the diagram pages of this project are named: Schematic.0000...Schematic.9999
2nd Method
Do not specify a fixed filename but use the abbreviation %P => corresponds to a wildcard for the project names.
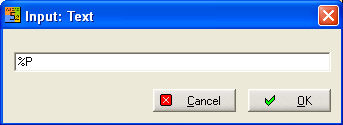
Example
e.g. for <<Diagram pages>>, filenames => %P i.e. all diagram pages for the project with the name XYZ are labelled:
XYZ.0000...XYZ.9999
e.g. for <<Terminal diagram>>, filenames => %Ptermch
i.e. all the pages of the terminal diagram of the project with the name XYZ are labelled: XYZk.0000...XYZk.9999