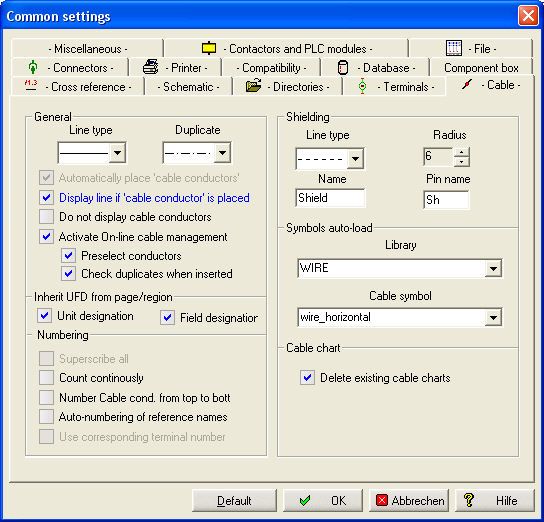
Cables are managed in the professional version by activating the option Online cable management under Settings / Common Settings / Cables.
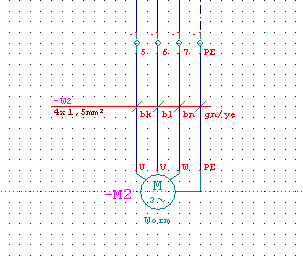
In order to be able to manage cables at all, they have to be placed in the circuit chart. For this you use the menu command Schematic / Cable line. With a click of the left mouse button, you now set the starting point of the cable. You then draw the (cable) line over the area of the conductors that will belong to this cable and then place the endpoint with another click of the left mouse button.
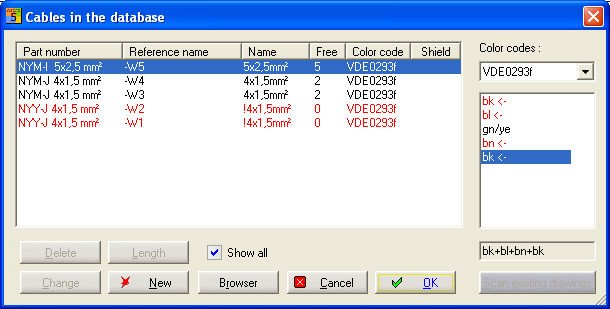
When the Cable Manager is activated, the cable database dialog appears.
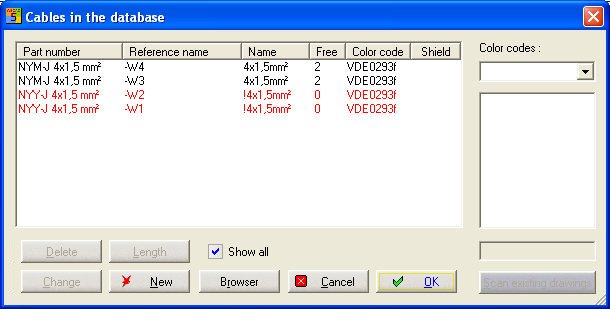
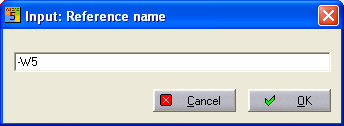
Now click on the New button. Enter the cable name e.g. –W105 and place the text with the cursor and a click of the left mouse button.
In the Professional version, the Database Manager appears.
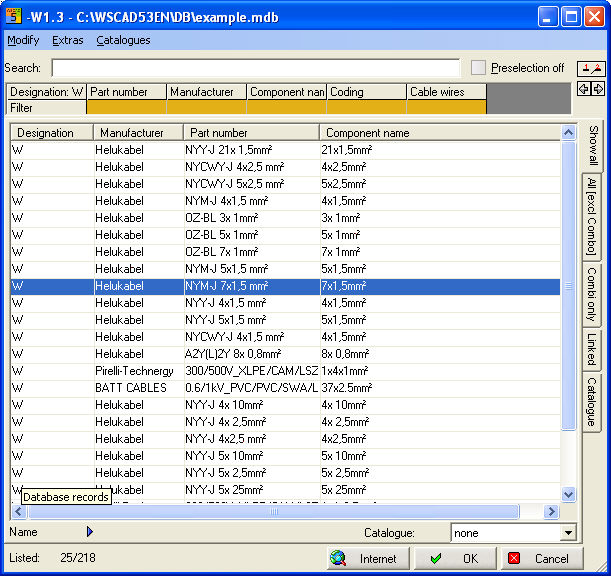
Select the appropriate cable with a double click of the mouse or by clicking on OK. Then the Cable Manager dialog opens again to show the available cables and the new cable from the cable database. The colour code is transferred from the database. If no colour code has been saved in the database, then you can select one of the existing colour codes. This new assignment is written back in the database.
Hint
A colour code can only be changed if no wires of the selected cable have been used in the circuit diagram.
When you leave the database dialog, the new cable is pre-selected. The selected colours are indicated below. You can only select as many wire colours as lines you have intersected with the (cable)line. If you select fewer wire colours than there are intersected lines, then the missing wire colours will be automatically supplemented from the last selected wire colour onwards.
The cable symbol also determines the alignment of the wire colour (derived from the pin name) horizontal or vertical. You can adjust this by the setting under Parameters / General / Cables.