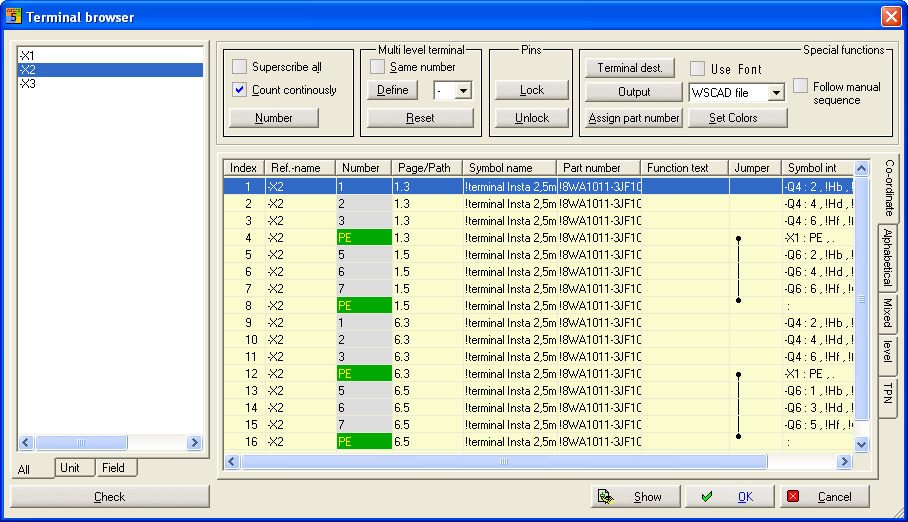
The terminal browser starts with a generation process which goes through all the circuit diagram pages so that all the terminal connections for the selected terminal strips can be shown on the screen. During this process, you will only see the terminal strips which have a reference name.
The terminal strips without a reference name can also be displayed by an INI switch Showallterminalstrips=1 in the [Config terminal cable] column in the WSPRJ52.INI file.
Left side in the terminal browser
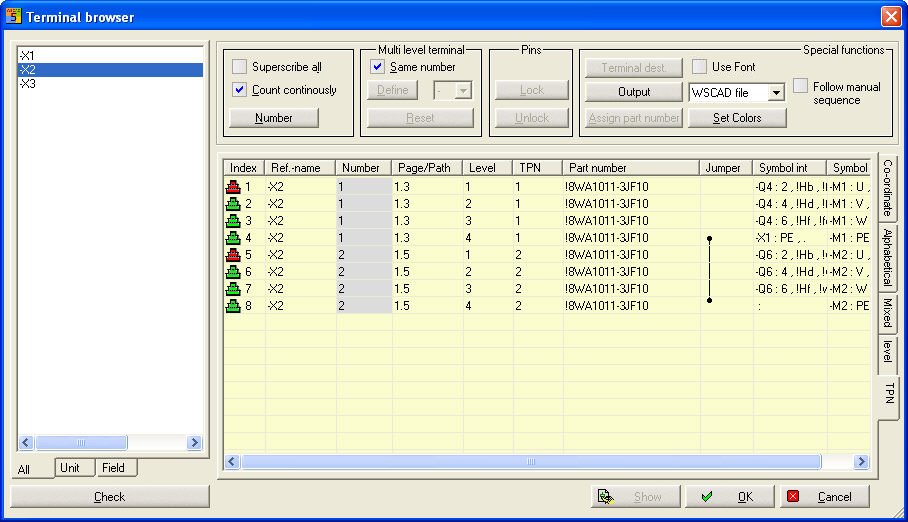
On the left in terminal browser, you will see all the terminal strips of the project listed in the selection field. The register cards at the bottom left (All, System, Site) allow the terminals to be sorted in KTP mode. If this mode has been used, you will be able to select the terminal strips to be evaluated by clicking with the left mouse button (single selection), holding down the <Ctrl> key + left mouse button (multi selection) or holding down the <Shift> key + left mouse button (range selection). The function <Ctrl> key + A allows all terminal strips to be selected immediately.
Top centre in the terminal browser
The function buttons are arranged at the top centre of the terminal browser. The Item button is only visible in the Professional version and is only active once you have clicked on the Item field.
Right side in the terminal browser
On the right in the terminal browser, the individual terminal connections are listed in a table. You can, of course, display as many terminal strips as you like by clicking other terminal strips in the left selection field. The display is updated.
Fill all fields
Make a right mouse click at the header of a column and elect in the context menu fill column . Insert the value in the text box.
Column arrangement
The columns in this table can be included in or excluded from the display by clicking on the column heading you want to exclude, for example, with the right mouse button or by clicking wherever you want to insert another column. Select the corresponding Context menu.
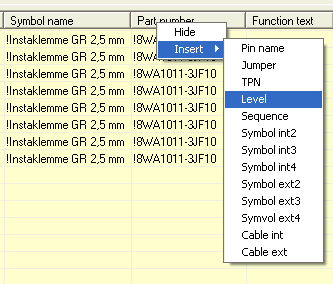
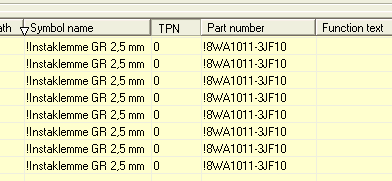
The columns in this table can also be shifted into position by clicking on the column heading to be shifted with the left mouse button and holding it down. Now move the mouse pointer to the place in the table where you want to reposition the column. The current position will be indicated by a small white triangle.
Outer right
Register cards which sort terminal connections in the respective manner are located on the right. According to coordinates: The terminals are output according to the position on the circuit diagram.
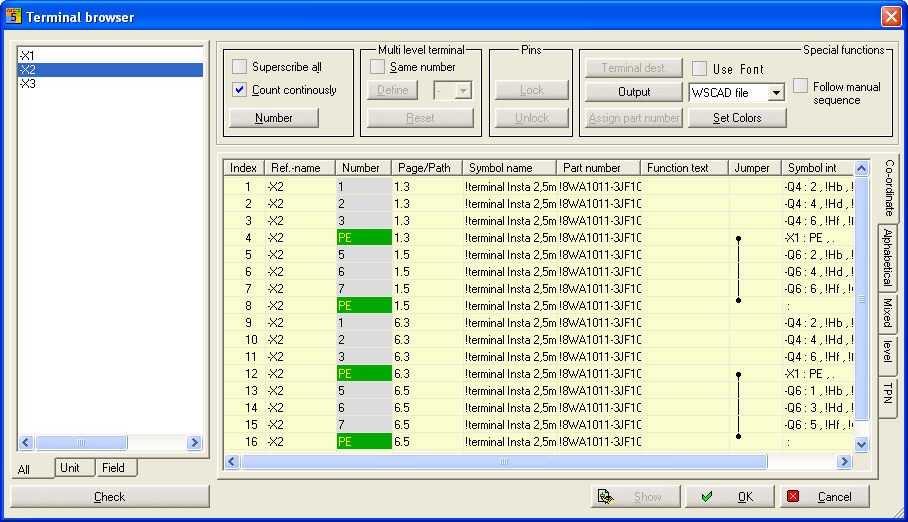
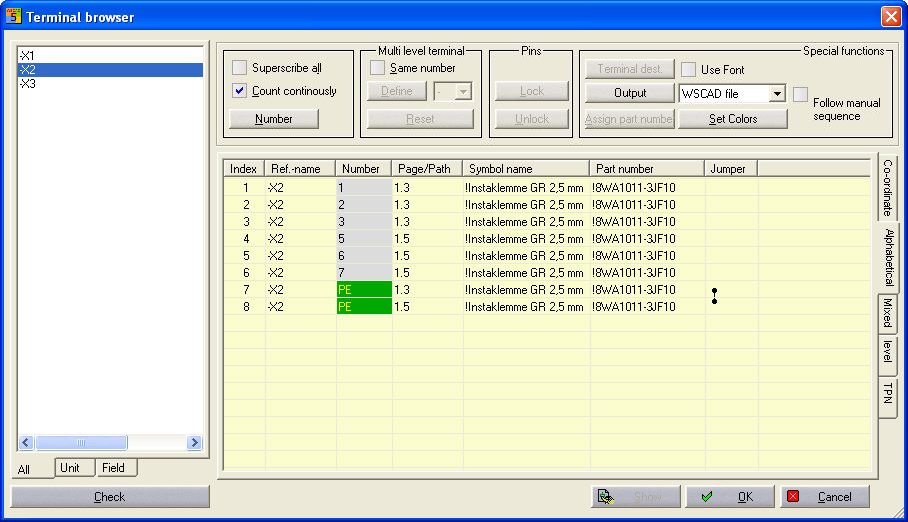
Alphabetical: The terminals are output arranged according to terminal number. In this case, the sorting algorithm determines how terminal numbers which are made up of numbers and letters are treated.
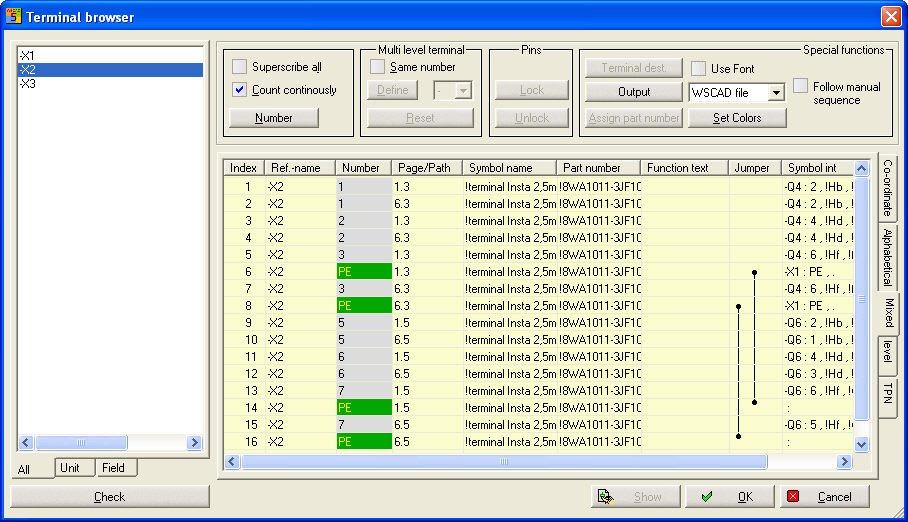
Mixed: The terminals are initially sorted according to terminal number. Terminal connections which are only provided with letters for the terminal identification (such as PE) are classified according to the position on the circuit diagram between the terminals which are arranged according to number.
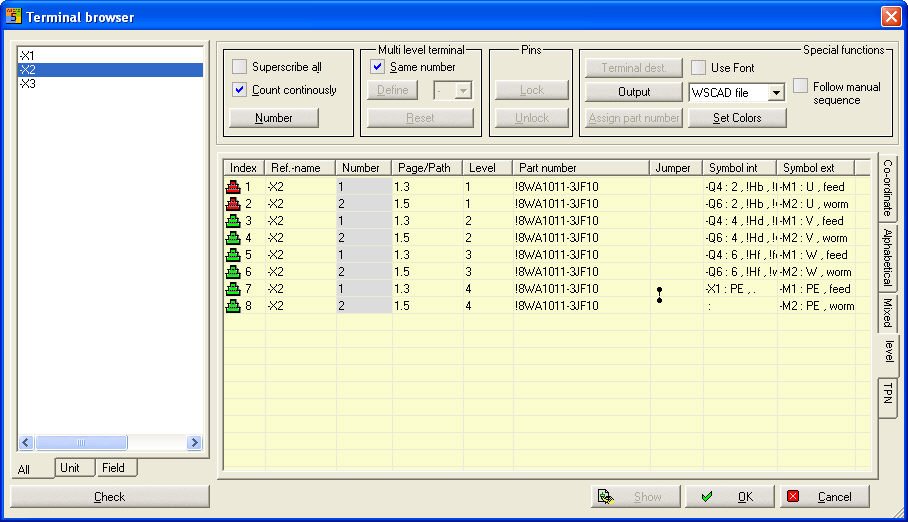
Level: Sorts multi-stage terminals according to the available connection levels. These are recorded and administered in a separate Level column.
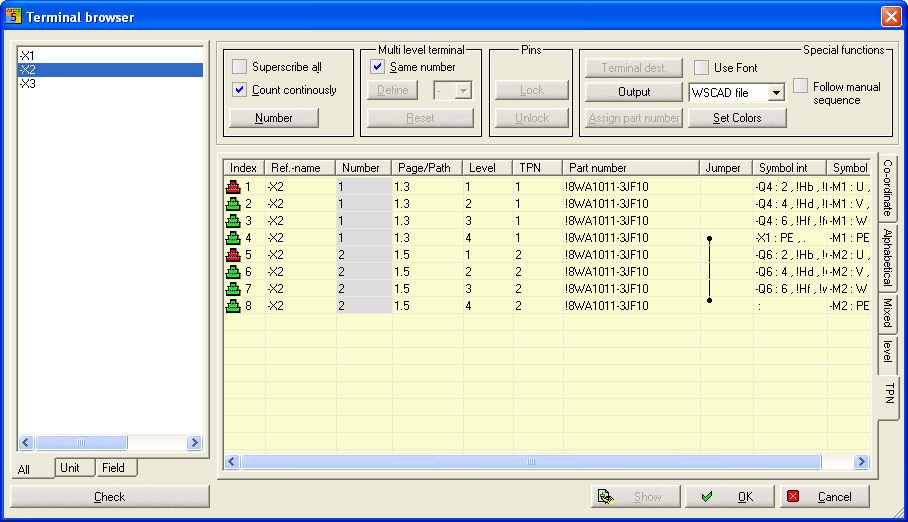
TPN: Sorts multi-stage terminals according to the Terminal Position Number (TPN). These are recorded and administered in a separate TPN column.
Bottom left
Register cards are located here for displaying the terminal strips in regard to the system location designation (SLD).
Lists all the terminal strips of the project.
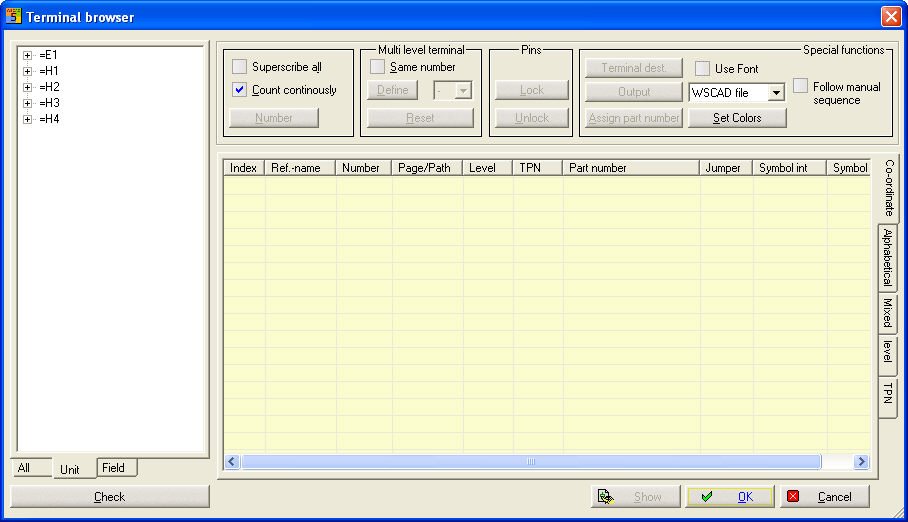
Lists all the Unit designations with the respective terminal strips.
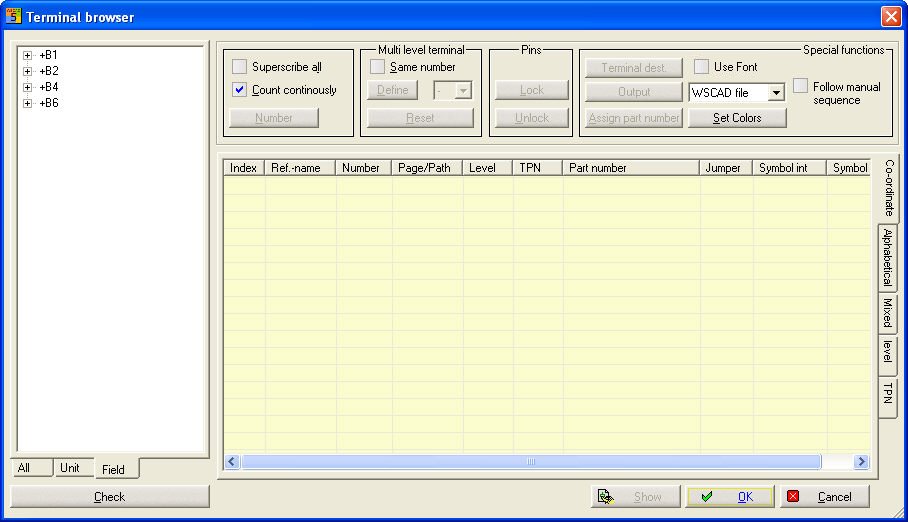
Lists all the location designations with the respective terminal strips.
Monitors the terminal strips as to whether a multi-stage terminal which has a double TPN (Terminal Position Number) is positioned within the terminal strip. Monitoring takes place automatically every time the browser is invoked.