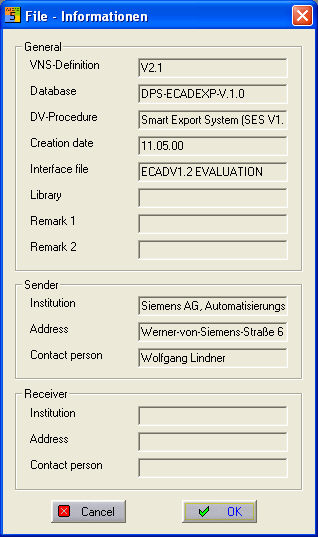
After the parameters have been set for the conversion, the ECAD file must be selected by clicking on the button Open and the standard Windows dialog for opening a file will appear.
Note
The ECAD files have the file extension *.VGR.
The selected file is opened and read in and the dialog appears with information about the import file.
This contains various pieces of information about the person who created the file. Confirm with <OK> and the data are then first read into the intermediate file and then displayed.
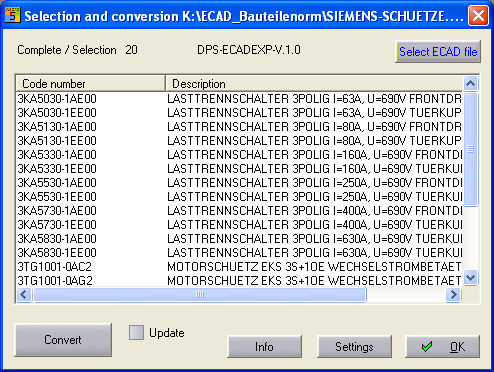
As soon as the conversion has started, information about the ECAD file on how many entries the file has or has transferred is shown at the top. If no selection is made, all entries are converted and you can select the items individually by clicking on the relevant lines. By using the <Ctrl> or <Shift> keys, you can also select several at a time. By double clicking on a list entry, you can see in detail which information is being transferred.
Tip
After you have invoked the detailed information, this entry in the list is selected. With the <Ctrl> key held down, click again on the item in order to remove the selection.
When the option Update has been set, then only those items are processed which are already available in the destination database, otherwise the missing items are supplemented. The actual process is started via the button Convert. When you have confirmed the following prompt with YES, the data are entered in the destination database. Completion of the transfer is indicated by the following message:
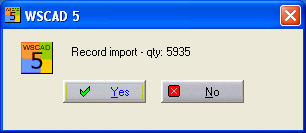
If errors occur during the conversion, then the corresponding message appears and you can choose to create a detailed ASCII log file ECADBTN.TXT which can be found in the ACCESS database directory. There, by giving the item name, it is possible to check and see which combs are missing in order to create them afterwards in the symbol editor. Only then can you work with these items perfectly in regard to contactor management etc.